Get started
Last updated
What is AgentLaire?
Section titled “What is AgentLaire?”AgentLaire adds AI agents to your own Odoo database, and every change an agent wants to make waits for a person to approve it. AgentLaire AI Control is the free base module: providers, policies, run records, the audit log and the kill switch. See the product page.
What do I need?
Section titled “What do I need?”AgentLaire AI Control needs Odoo 18, 19 or 20 Community, self-hosted. It cannot be installed on Odoo Online. Enterprise and Odoo.sh support comes later.
| Item | Requirement |
|---|---|
| Odoo | 18, 19 or 20 Community, self-hosted |
| Not supported | Odoo Online |
| Model | One provider account or a local model |
| Who sets it up | A user with the AI Manager group |
The administrator who installs AgentLaire AI Control becomes an AI Manager. Nobody else is in an AI group until you add them under Settings › Users & Companies › Users.
How do I install AgentLaire AI Control?
Section titled “How do I install AgentLaire AI Control?”Install AgentLaire AI Control from its Odoo Apps Store listing for your Odoo version. AgentLaire AI Control is free; AgentLaire AI Agents, which adds the agents, chat and approvals, is a paid module (prices).
- Download the module from the Odoo Apps Store listing for your Odoo version.
- Put it in your addons path and restart Odoo.
- In developer mode, open Apps › Update Apps List, then install AgentLaire AI Control.
- To use agents, install AgentLaire AI Agents the same way.
The new AI Control app appears in the main menu.
How do I connect a model?
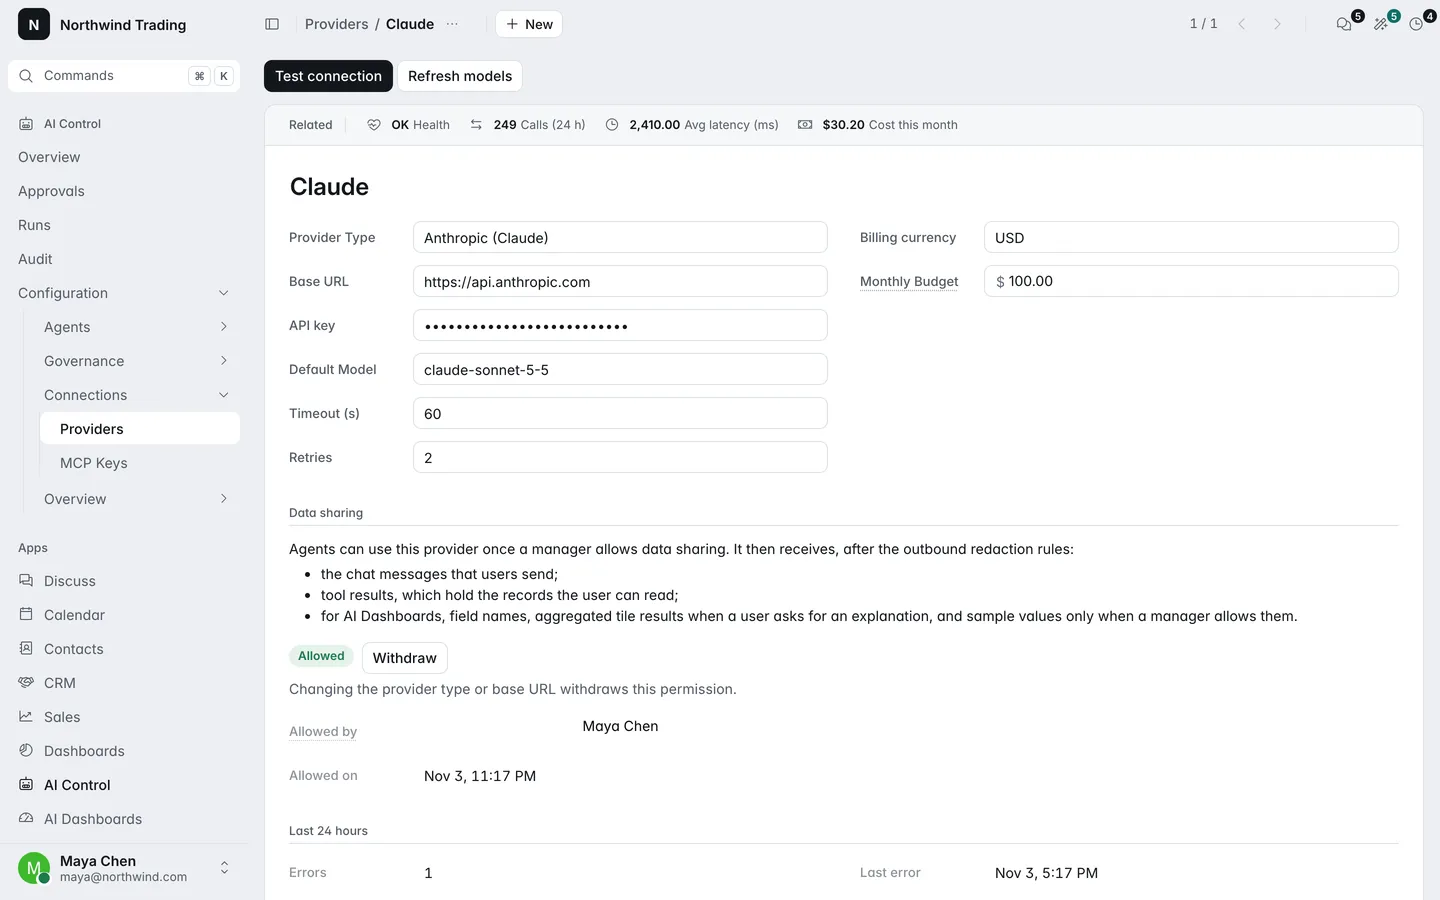
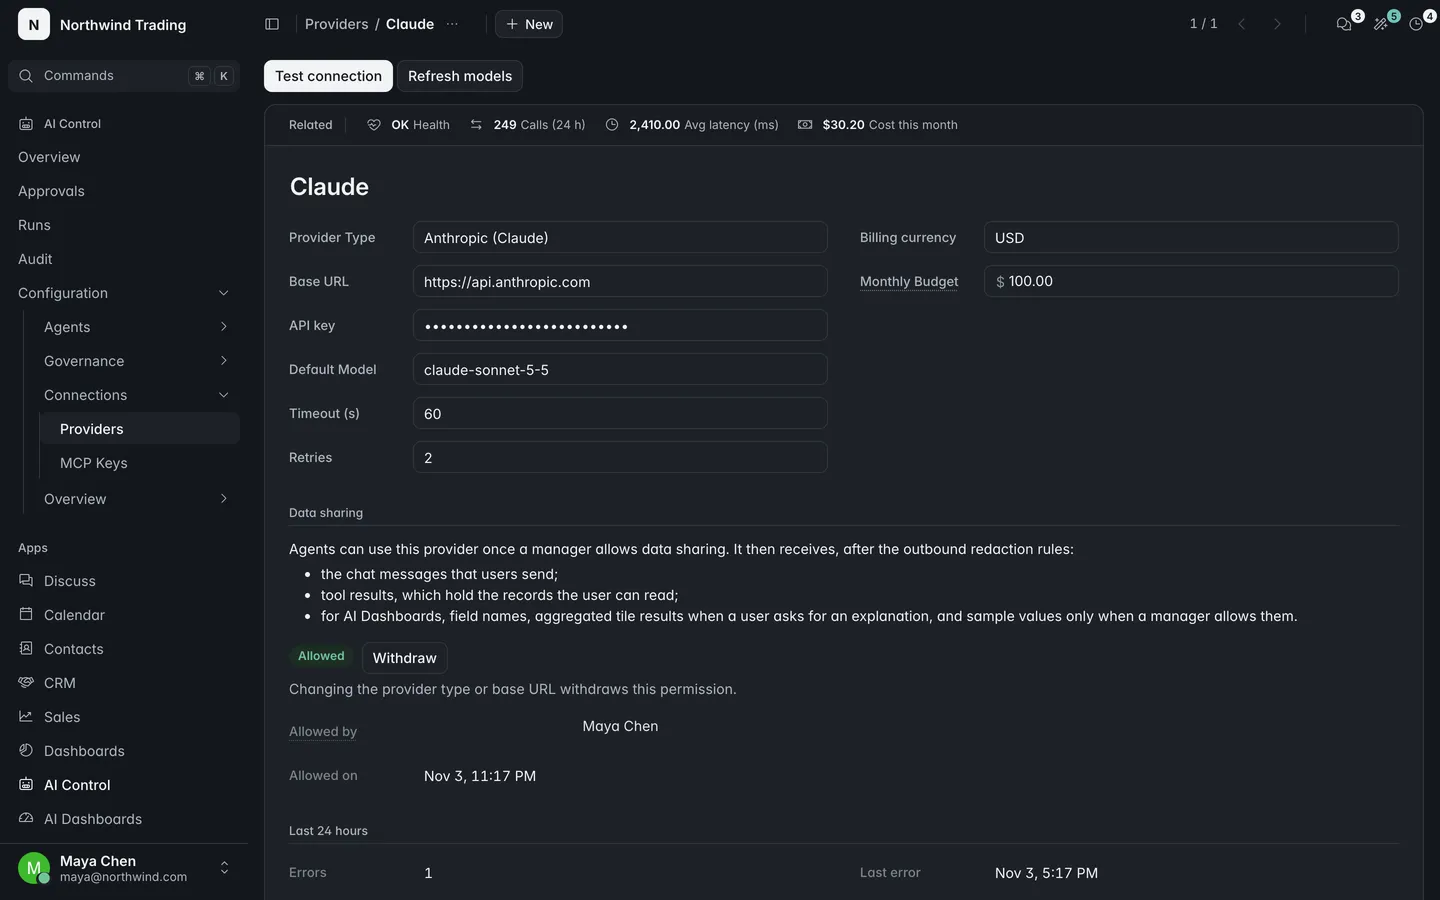
Section titled “How do I connect a model?”AgentLaire AI Control connects to a model under AI Control › Configuration › Connections › Providers. Create a provider with these fields:
| Field | What it does |
|---|---|
| Provider Type | Anthropic (Claude), OpenAI, OpenAI-compatible (Ollama, vLLM, LiteLLM) or Google Gemini |
| Base URL | The address of the API, for example http://ollama:11434/v1 for a local model |
| API key | The key from your provider |
| Default Model | The model agents use unless an agent names another |
- Fill the fields and save.
- Select Test connection.
- Under Data sharing, select Allow data sharing. Until a manager does this, no request with business data goes to the provider.
- Under AI Control › Configuration › Settings, pick the Default provider.
For a model on your own server, see Connect a local model with Ollama.
How do I set tool policies?
Section titled “How do I set tool policies?”A tool policy tells agents which models and fields they may read or change. Policies are under AI Control › Configuration › Governance › Policies. Each policy sets the model, the operations (Read, Create, Write, Delete), the allowed fields and a record limit.
New policies allow no write, no delete and no method calls, and every write is a proposal a person approves. Policies add to Odoo’s access rights; an agent never gets more than the user it works for.
With AgentLaire AI Agents, the quickest way is to enable a skill. Open AI Control › Configuration › Agents › Skills, open a skill and select Enable. This activates the policies of the skill’s tools after you confirm the list. The starter policies are created inactive until you do.
How do I turn on an agent?
Section titled “How do I turn on an agent?”AgentLaire AI Agents creates an agent named AgentLaire AI with the starter skills and makes it the default chat agent. Check or change agents under AI Control › Configuration › Agents › Agents.
- Enable at least one skill (see the previous step).
- Add the people who may use it to the AI User group.
- Open the agent and select Test run to check it.
- Select Ask AI in the top bar and ask for something, for example a quotation.
When the agent wants to change data, it shows a card with Approve and Reject. Approvals explains how that works.
What should I read next?
Section titled “What should I read next?”- Approvals: how a proposal works and who can approve it.
- AI Control: providers, budgets, policies, the audit log and the kill switch.
- AI Agents: chat, skills, triggers and the MCP endpoint.
- FAQ: buying, versions, data and support.